
Good hygiene is very important to the health of your horse. That means that how to clean a horse stall is something every owner should know!
But if this is your first time doing it, it can be daunting. How should you go about it to get the best results?
That’s where we come in! We’re going to take you through how to clean your horse’s stall – also known as mucking out – step by step. And we’ll give you some top tips along the way.
So if you’re ready, read on to find out how to get your horse’s stall clean and fresh!
Table of Contents
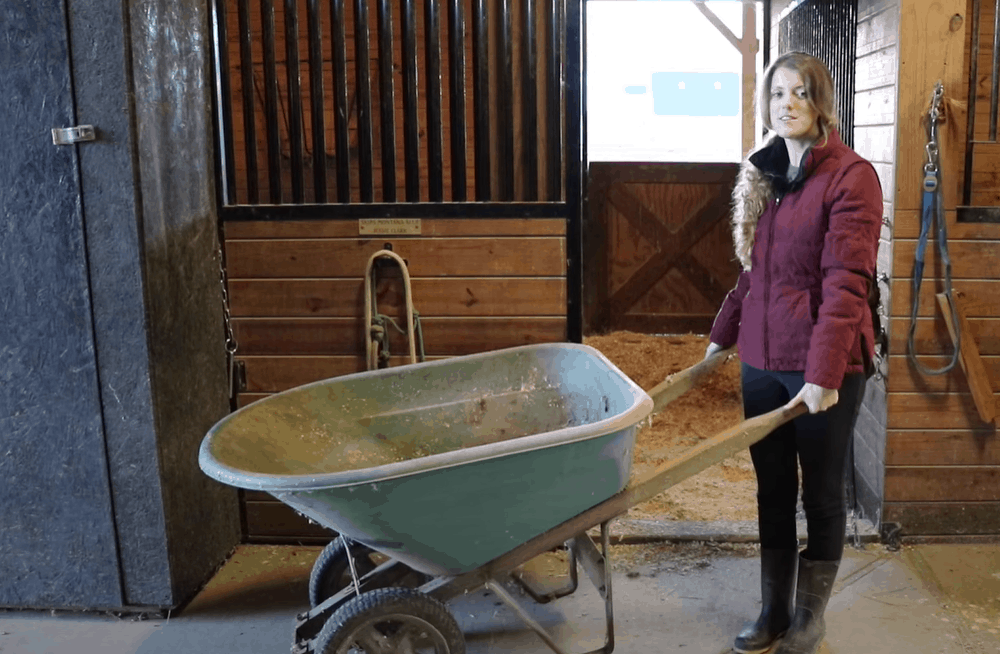
Tools and equipment
- Wheelbarrow or large bucket
- Pitchfork
- Large shovel
- Broom
- Fresh bedding – wood shavings, straw or pellets, as best suits your horse
- Work gloves
- Rubber boots
Step by step guide for cleaning horse stall
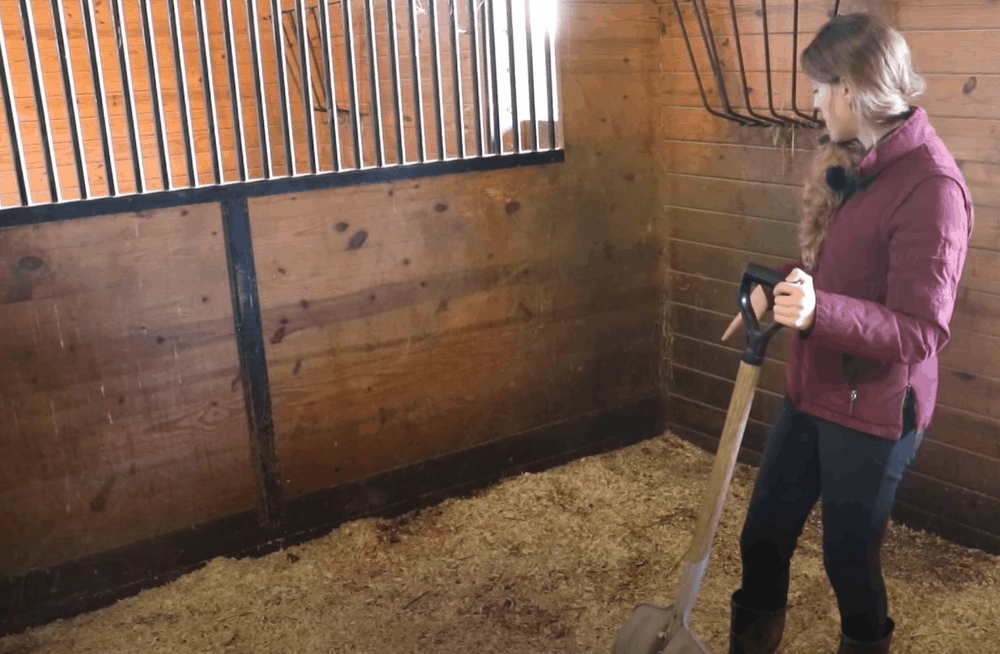
Step 1. Get your stall ready for cleaning
The first step is to make sure the stall is ready to be cleaned. That means, of course, that you’ll need your horse to be elsewhere! So a good time to muck out is when he’s grazing, exercising or working.
Remove any loose items like feed and water buckets or toys from the stall.
And don’t forget to prepare yourself too! Wearing a good, thick pair of gloves will help avoid any blisters. And rubber boots will keep your feet dry, as well as resisting damage from horse urine.
Step 2. Know what you’re looking for
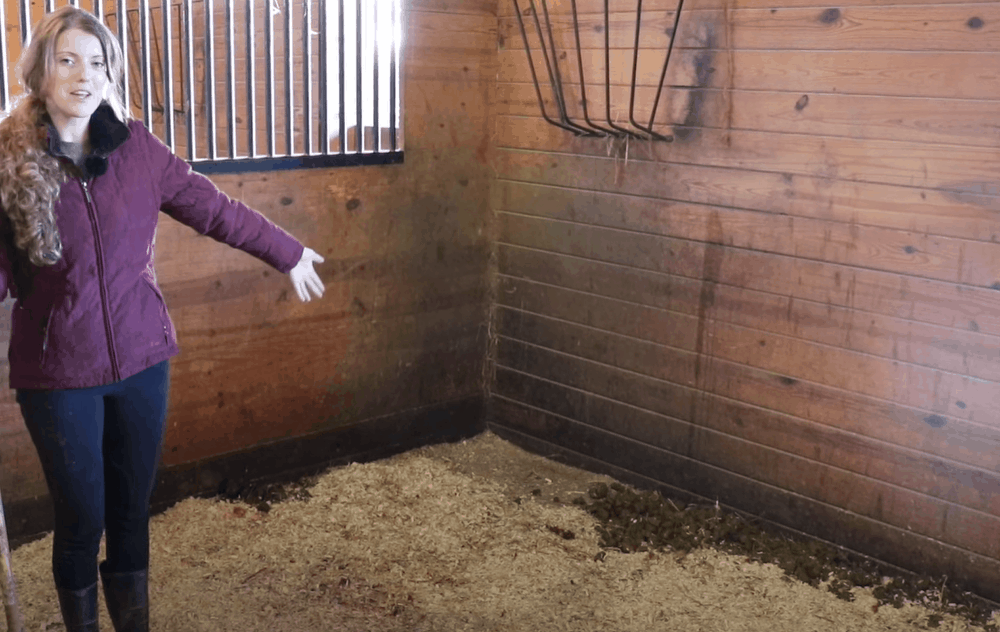
To begin with, you need to know how to identify the parts of your horse’s stall that have become dirty.
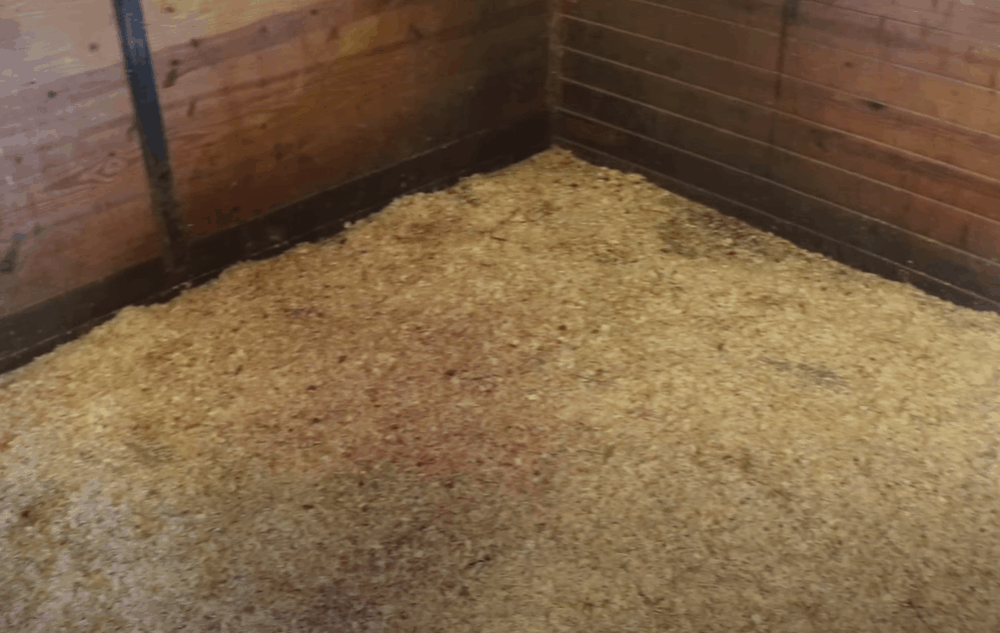
With manure, it’s usually pretty easy to spot! But note that some horses will bury their poop under their bedding. That will mean you’ll need to inspect the floor of the stall more carefully to make sure you get it all.
And if your horse has peed on the bedding, you may also need to take a closer look. Watch out for darker spots where the urine has soaked in.
Whatever the cause of the soiling, you’re going to need to remove all the dirty bedding material.
Step 3. Start with the manure
The first step is to position the wheelbarrow or bucket at the entrance to the stall. That will give you room to work without bumping into it. And it will mean you won’t have far to carry the soiled bedding.
Make sure it’s facing in the direction of the manure pile. It will be much easier to do this when it’s empty than to maneuver it when it’s full.
Now take your pitchfork and use it to scoop up the manure. Then transfer it to your wheelbarrow or bucket.
Pro tip: Once you’ve scooped up the manure, give your pitchfork a gentle shake. That will allow any clean bedding to fall back to the floor, minimizing waste.
Step 4. Remove the pee spots
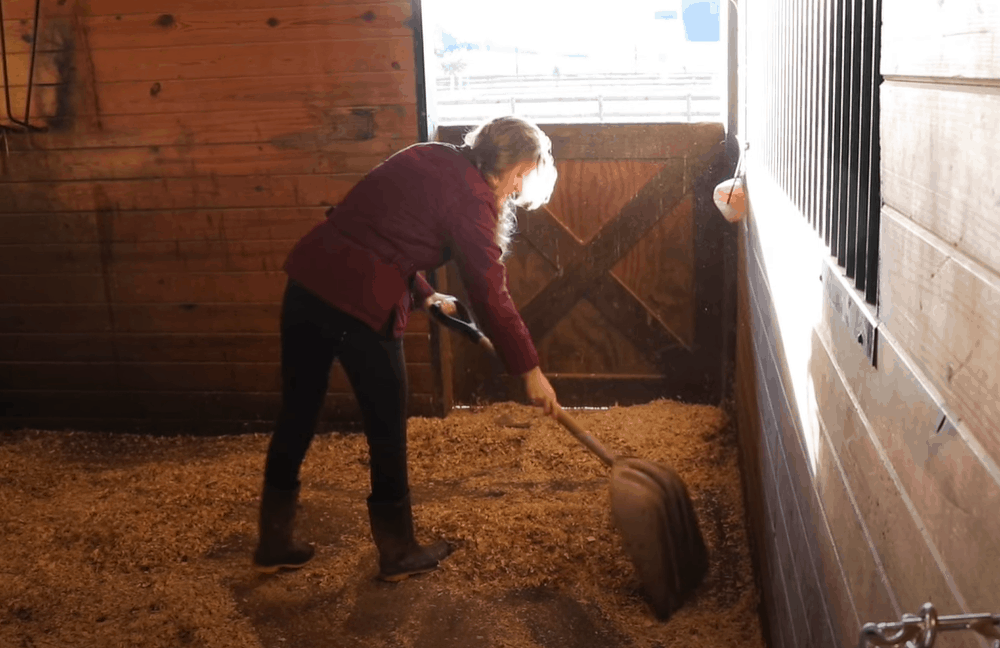
Tackling the patches where your horse has peed will need to be done differently, depending on the type of flooring in the stall.
Any rubber mats beneath the bedding will soak up the urine. That will allow you to simply remove the soiled bedding and replace it with fresh.
But if the floor of the stall is dirt, you’ll need to make sure it’s dried out first. Otherwise, the urine will simply be soaked up by the clean bedding.
Use your shovel to remove all the darker straw. Then transfer it to the wheelbarrow.
Pro tip: Take your shovel and remove all the clean shavings from around the area of the wet bedding before you start. Scraping them to one side will prevent them being mixed with the dirty bedding, so you can use them again.
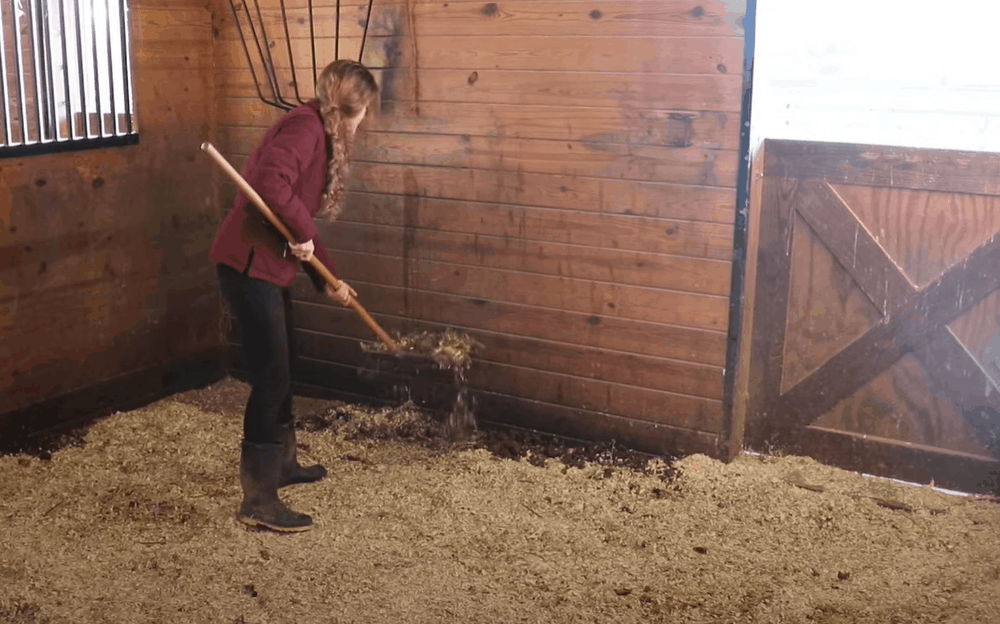
Step 5. Check for smaller areas of soiling
Now use your pitchfork to spread the remaining clean bedding across the floor. Sift through it as you go, checking for any smaller pieces of manure or wet patches. Shaking the pitchfork gently will enable you to capture any soiled material.
How much work this is will depend on your horse. Some leave their poop alone. Others manage to spread it across pretty much the whole of the stall floor!
When you’re confident you’ve removed all the soiled bedding, take your bucket or wheelbarrow to the manure pile. Horse manure makes an excellent fertilizer for the garden or fields.
Step 6: Spread fresh bedding
Now that you’ve got rid of all the soiled bedding, spread what’s left evenly across the floor of the stall. Using the pitchfork in a similar way to a rake will help you get a level surface.
Consider whether you need to add more bedding. If you have rubber mats underneath, these will provide a softer surface and will also absorb urine. That means you can make do with a thinner layer of bedding on top.
But if the floor of the stall is concrete, you’ll need a thicker layer of bedding. That will be important both to absorb the pee, and to give your horse a comfortable surface on which to stand or lie. And while sand floors will be softer underfoot, they’ll still need plenty of bedding to absorb the urine.
If you need extra bedding, add it now, taking care that it’s an even depth across the floor. Use your pitchfork to fluff it up, and to create a level surface.
Step 7: The final sweep
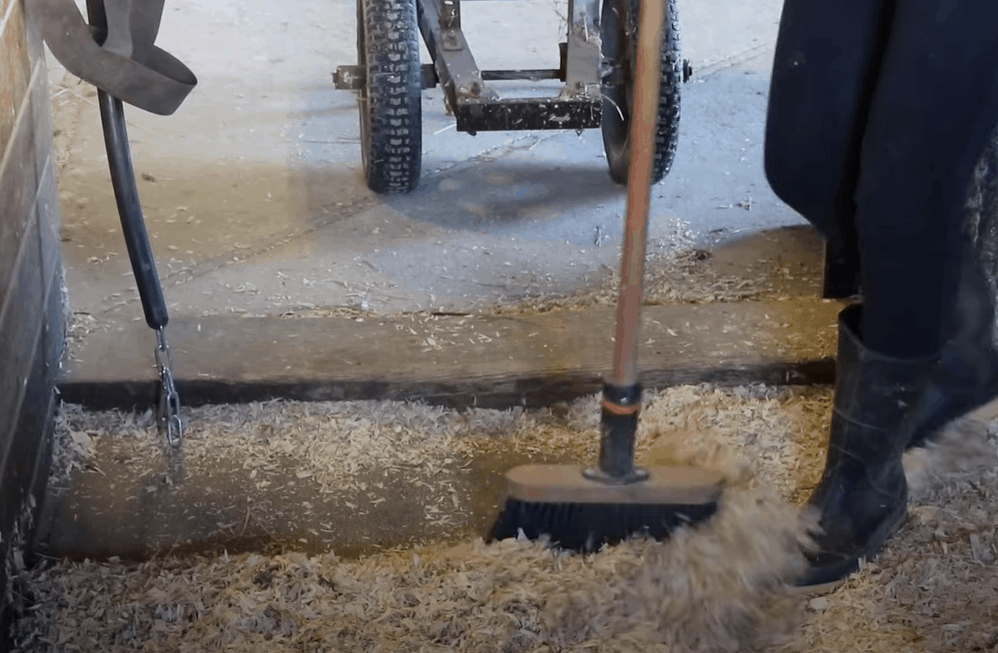
It’s now time to get out the broom.
Sweep away the bedding from the entrance to the stall. That will help keep the barn aisle nice and clear. Any that’s left behind will turn moldy and make a mess, particularly in damp weather.
Now clear the area beneath the feed bucket too. If your horse drops any food, he’ll doubtless want to hoover it up from the ground! Keeping the area free of bedding will prevent him from ingesting any dust or other matter as he does so.
If you’re using a hay rack, sweep the area beneath it clear for the same reason. And if you put the hay on the ground, sweep the area around it too.
Step 8: Replace feed and water buckets and toys
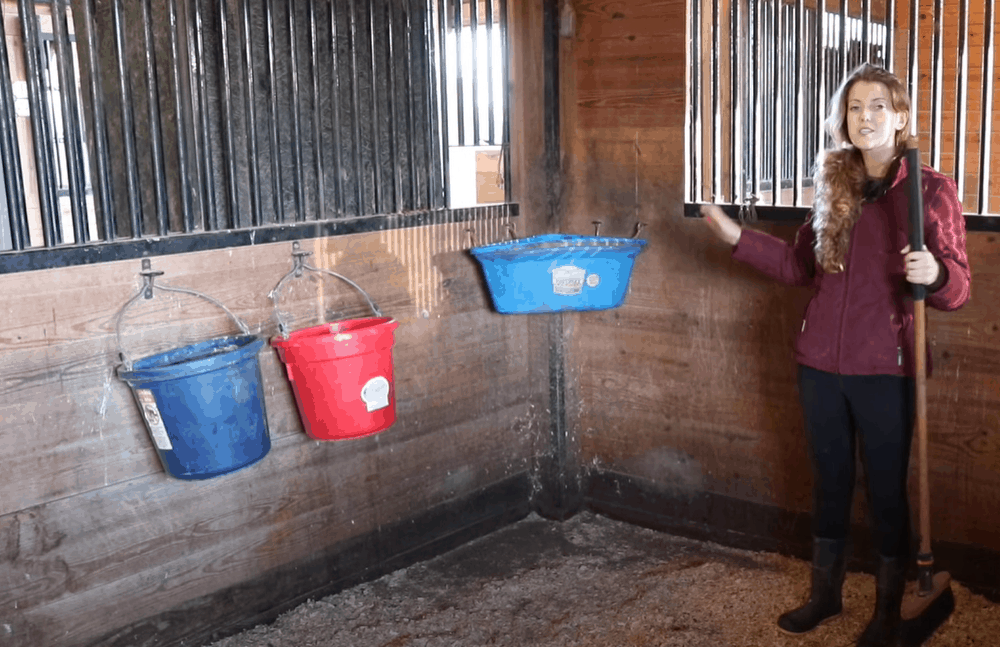
Now that the stall is clean and the bedding is replenished, it’s time to make it homely again! Replace the objects you removed at the beginning of the process – feed buckets, water buckets and any toys.
Clean your shovel and pitchfork, and put them away safely. Now everything is ready for next time!
Extra tips
- Don’t be tempted to overfill your wheelbarrow. You may want to minimize trips to the manure pile, but it’s easy for an overloaded barrow to tip over. That will give you much more work tidying up the mess!
- Emptying out a full wheelbarrow can tricky. You might find you need to get onto the manure pile to help the contents on their way. That makes a good pair of work boots essential!
- Keep your manure pile well away from the barn and stalls. It will attract flies and other bugs that can cause irritation to your horse, and can even carry diseases.
- Not sure whether you need to add more bedding to the stall? Remember that it serves two main functions. It absorbs urine, and makes your horse more comfortable, whether he’s standing or lying down. Ask yourself if there’s enough bedding to do those jobs. If there isn’t, add more.
- In winter months, an extra thick layer of bedding will help keep your horse warm. Some people choose to remove and replace only the top layer when the weather is colder.
- If you’re using wood shavings as bedding, you may want to consider investing in a shaving fork. That will be easier to use with the shavings than a traditional pitchfork, which works better with straw.
- If you’re looking for a more environmentally friendly form of bedding, straw is arguably better than wood shavings. There’s less plastic involved in the packaging. And you can use dirty straw immediately as fertilizer, whereas wood shavings need 3 to 4 years to compost.
- Hangers can be a good way of storing your cleaning tools, without taking up too much space. You can find plenty of inexpensive options online.
- Horse urine can degrade fabric – including the stitching on boots. So don’t wear expensive riding boots when you’re mucking out your horse’s stall. A pair of rubber boots or work boots will be much better at resisting damage from the chemicals.
- Thick work gloves will help protect your hands from blisters as you’re using the shovel and pitchfork. They don’t have to be expensive. Look for designs with rubber dots on the palms to give you a better grip as you work.
Ready to clean your horse’s stall?
We hope you’ve enjoyed our step by step guide to how to clean a horse stall! And we hope it’s given you the confidence to tackle this important task.
Take your time to make sure you’ve found and removed all the manure and soiled bedding. Add enough clean bedding to keep your horse comfortable, and to absorb their pee. And don’t forget to put back their feed and water buckets, as well as their toys, when you’ve finished.
Good luck, and we’re sure your horse will enjoy their fresh, clean stall!


