
Once you get a horse, you probably want to ride it and create a mutual bond. However, an unbroken horse won’t allow you to saddle it, so mounting such an animal is out of the question.
In that case, you can wonder how to break a horse? The good news is that you can do it on your own with some skill and the right strategy. Let see what all the fuss is about.
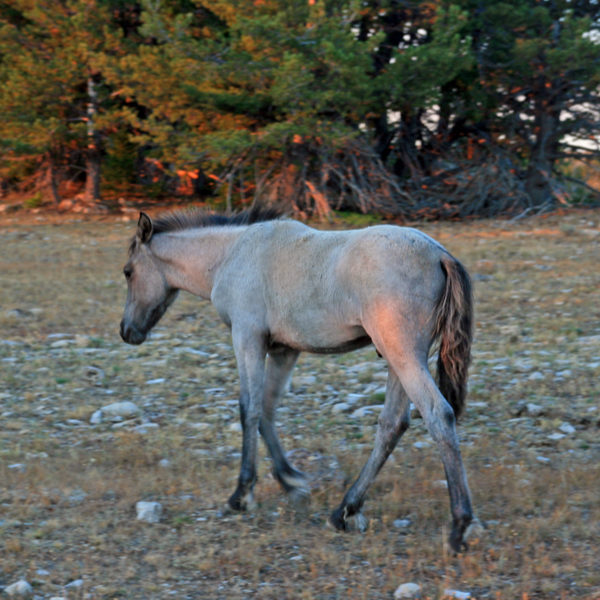
Breaking a Horse
Once upon a time, breaking a horse meant forcing the animal into obedience and crushing its wild spirit. Punishments, deprivation of food and water, and torture were often parts of that process. Nowadays, it is no longer the case.
The point of breaking a horse is not to get you a perfectly obedient, thoughtless riding machine but rather to prepare it for riding. The goal is to teach the animal to accept haltering, walking, and following basic commands.
Therefore, most equestrians consider a horse broken if it is safe to ride. Usually, this process takes approximately 40 to 60 days. Most trainers wait for a horse to be two years old before trying to break it. However, it will depend on several factors, including horse temperament and breed.
In other words, you need to wait until your horse fully grows and develops before starting breaking it. For instance, you can ride an average Thoroughbred as early as it turns 18 months. Contrary, some draft or warmblood horses are usually ready only at the third or fourth year of age.
Initial Preparation

A horse starts learning from the first day of birth. Therefore, avoid separating a foal from its mother too early if possible and use the mare to get the baby accustomed to humans. Seeing the mother accepting human care, company, and a rider on its back usually helps a foal develop trust in people.
Plus, caring for the foal from day one will help you befriend it. As a result, the horse will allow you to break it more quickly if you brush, tame, and pet it regularly. Some trainers also suggest placing a saddle, reins, and other equipment next to the foal overnight for sniffing and getting used to it.
The primary goal is to teach your horse several things before starting breaking it:
- Responding to its name and approaching when you call it
- Standing still on voice command and allowing you to tie it up without tugging and pulling away
- Enjoying grooming without objecting to your touch
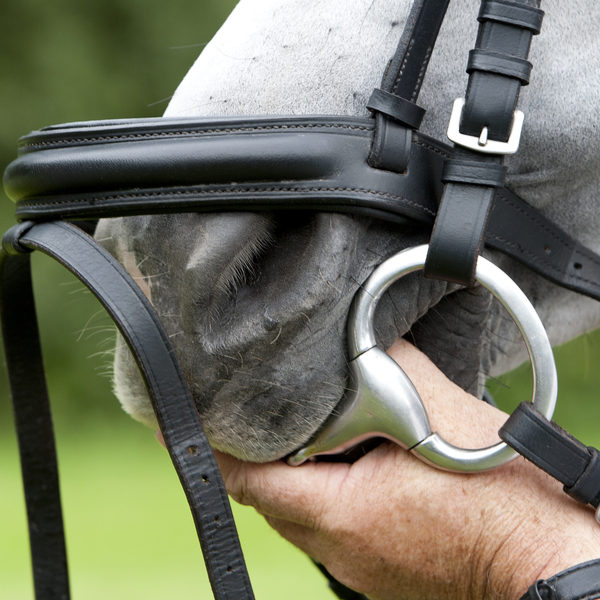
Experienced equestrians also suggest training the foal to wear a bit early. Take care to use soft, plastic, or silicone pieces of equipment instead of the ones made of metal. Never forget to reward your animal afterward with a treat or petting.
Breaking Methods
Trainers use various techniques to break a horse, depending on its breed, character, and owner’s preferences. However, there are a few primary categories of breaking an equine:
- Natural horsemanship method
- Classical dressage (horsemanship)
- Old (cowboy) way of breaking
- Positive reinforcement (science-based) method
Some professionals combine these methods by taking what they consider most valuable for each animal. Plus, a skillful trainer will pay attention to the horse’s habits, temperament, and reaction before creating a unique breaking plan.
However, let’s keep in mind one thing. No matter how much these methods differ from each other, they always imply one of two options:
- Gentle breaking an animal
- Harsh and cruel crushing of horse spirit
Some trainers go so far as to speak the right way and the wrong way of breaking a horse. No matter what your approach is, torturing an animal is not something you should consider.
Brokenness Stages
As I have already mentioned, you can ride a broken horse safely. Still, you won’t need the perfectly obedient horse after years of riding, as you did as a beginner.
Kids, novice riders, or pregnant women need much calmer and better-trained animals than an experienced rider or professional jockey. That is why several categories describe how broken is a horse you ride:
- Unbroken horse – It is an animal that nobody rode before, whether it is about a foal or a horse you haven’t broken yet.
- Green or dumb-broken horse – Only an experienced rider can control such an animal. It accepts a saddle, knows how to lunge, and usually has only a few rides. Still, it requires additional training and follows only basic commands.
- Halter, saddle, and harness-broke horse – A saddle broken horse is ready for a rider, while a harness broken animal can pull a carriage or another vehicle.
- Well-broken or dead-broken horse – These synonyms refer to a horse almost anybody can ride. It is a well-trained, perfectly calm animal that doesn’t startle easily, making it reliable. Training centers use almost exclusively well-broken horses for riding lessons.
Keep in mind that these categories are not carved in stone, and people interpret them differently. For instance, you can find a horse dumb-broken, while a seller offers it as dead-broken. Therefore, you should ride the animal before making the final deal.
Step-by-step Guide on breaking a horse
If you decide to break your horse on your own, you need to arm yourself with great patience. Every horse is different, and some take more time to break than others.
In addition, you need standard riding equipment, including a bridle, saddle, and lunging rope. Always make sure to have enough space to work with your animal. The local round pen, arena, or an empty field are some of the perfect choices.
Step 1. Gain horse trust
It all starts with confidence and trust. Your horse will cooperate only when it feels safe and relaxed around you. Be careful with a foal, and always leave some free space in between while approaching it.
An excellent option is to allow the animal to decide to approach you since a horse’s instinctive reaction is to move away when you come close.
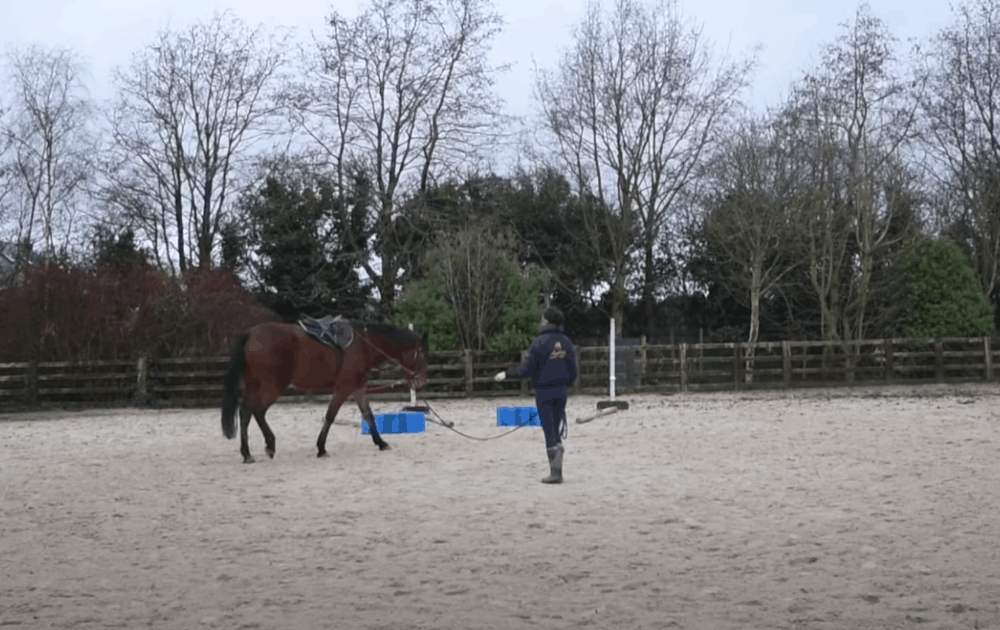
Step 2. Pressure and release

Use negative reinforcement by applying minimal pressure on the horse’s body. You can gently tap it with a lunge whip or use another tool of your choice. In each case, your animal will try to avoid pressure and move in the opposite direction.
Take advantage of that equine instinct and keep the pressure until the horse does the requested thing. Never forget that timing is everything in this stage. Slowly release the tension to reward any movement or effort the horse shows.
The moment an animal fulfills your goal, withdraw the whip completely and reward the progress your horse has made. You can also use this method to teach your animal to lunge, walk, or come when calling it.
Step 3. Rewarding progress
The perfect upgrade to negative reinforcement is to reward every improvement in the horse’s reactions and behavior. Each time your foal learns something, you should offer it a treat followed by your commands.
You can be sure that the animal will become more cooperative and obedient that way. It is particularly vital in the first days of breaking, while it still estimates whether it can trust you.
Besides treats, you can delight your horse with extra playtime on the pasture, hanging out with other horses, patting it, and whispering a few gentle words.
Practice rewarding a horse for every new step toward breaking. Never miss to give it a treat after accepting bridle, learning to lunge, or wearing a saddle for the first time.
Step 4. Desensitization
Noise, touch, or objects can quickly startle and spook your horse, so you should use desensitization to challenge and resolve its fear. The best option is to confront the horse with a source of anxiety while providing a reward. As time goes by, the horse will learn not to fear or reacts hastily.
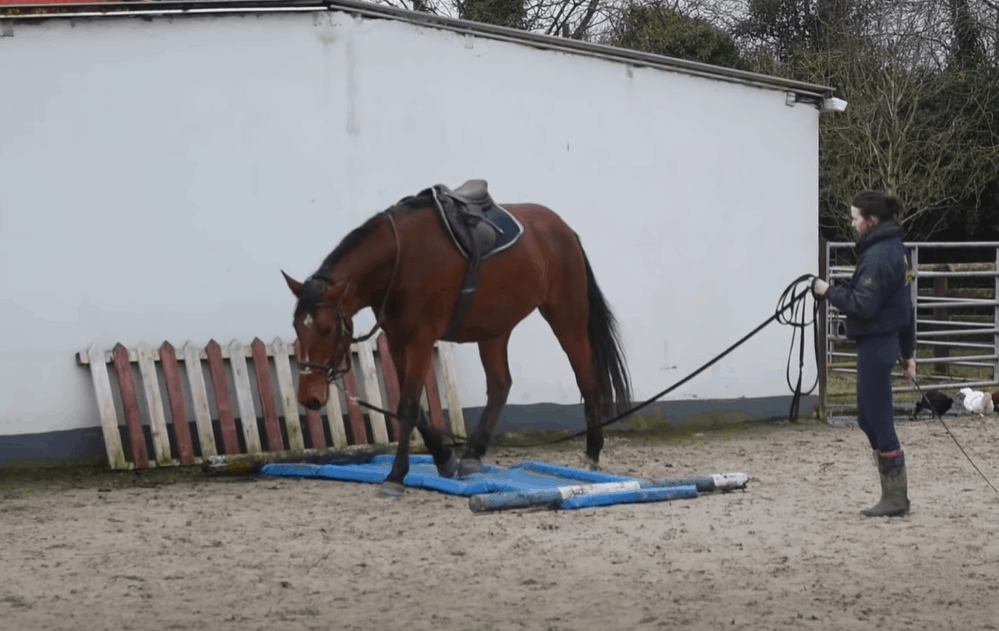
Step 5. Saddle training

Once your horse learns to lead, walk, and lunge, you can start a saddle breaking. Initially, you can take off your jacket and place it on a horse’s back. Since the animal recognizes your smell, it probably won’t panic.
Take it for a walk with the jacket on in the beginning. Then, replace it with a saddle pad or blanket after a while and reward calm tolerance or lack of negative reactions. Finally, put a saddle on the horse and check if your buddy is okay with wearing it before planning the first riding.
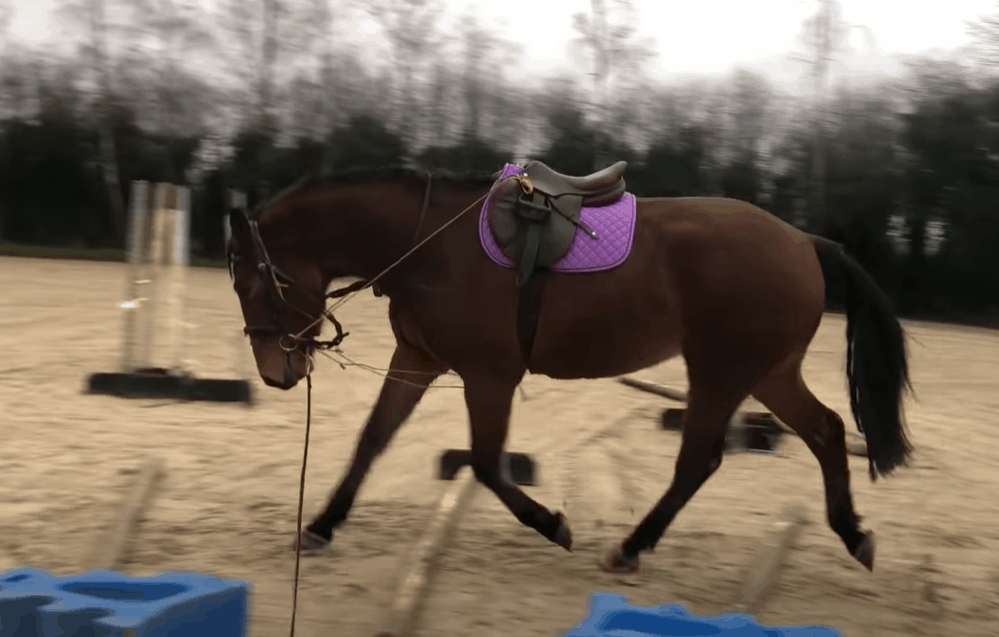
Step 6. First ride

Allow your horse to get used to walk, lunge, and trot with its equipment. Once you successfully mount it, ride it for no more than 10 minutes.
Be patient and prolong rides as time go by without forcing the animal to do more than it is ready for. Any disapproval and rejection mean you need to step back and prolong the training rather than forcing it into obedience.
Remember that breaking the horse is just the beginning of its training. Always follow animal reactions, moods, and misbehaviors without rushing.
One more thing! Horses are social beings, and they like learning from one another. If your horse sees that others don’t have problems wearing riders and following commands, it will learn to submit to your will faster.
Summary
Breaking a horse takes time, dedication, and patience. However, a well-broken horse is safe to ride. Be gentle to your animal, and never use pain and punishment to achieve your goals. The best option is to make a detailed plan before starting and reward your animal for any effort.


Wonderful advice thank you x
Prefect advice thank you. Helped me to realise what step I am at with my horse.