Once you decide to learn to ride, you will probably have tons of questions and doubts. Chances are you neither know much about equestrianism nor what to expect on your first training.
One of the basic skills you need to learn is how to saddle a horse. Mastering that skill ensures your ride is both safe and comfortable. So, let’s see is it a big deal.
How to Saddle a Horse?
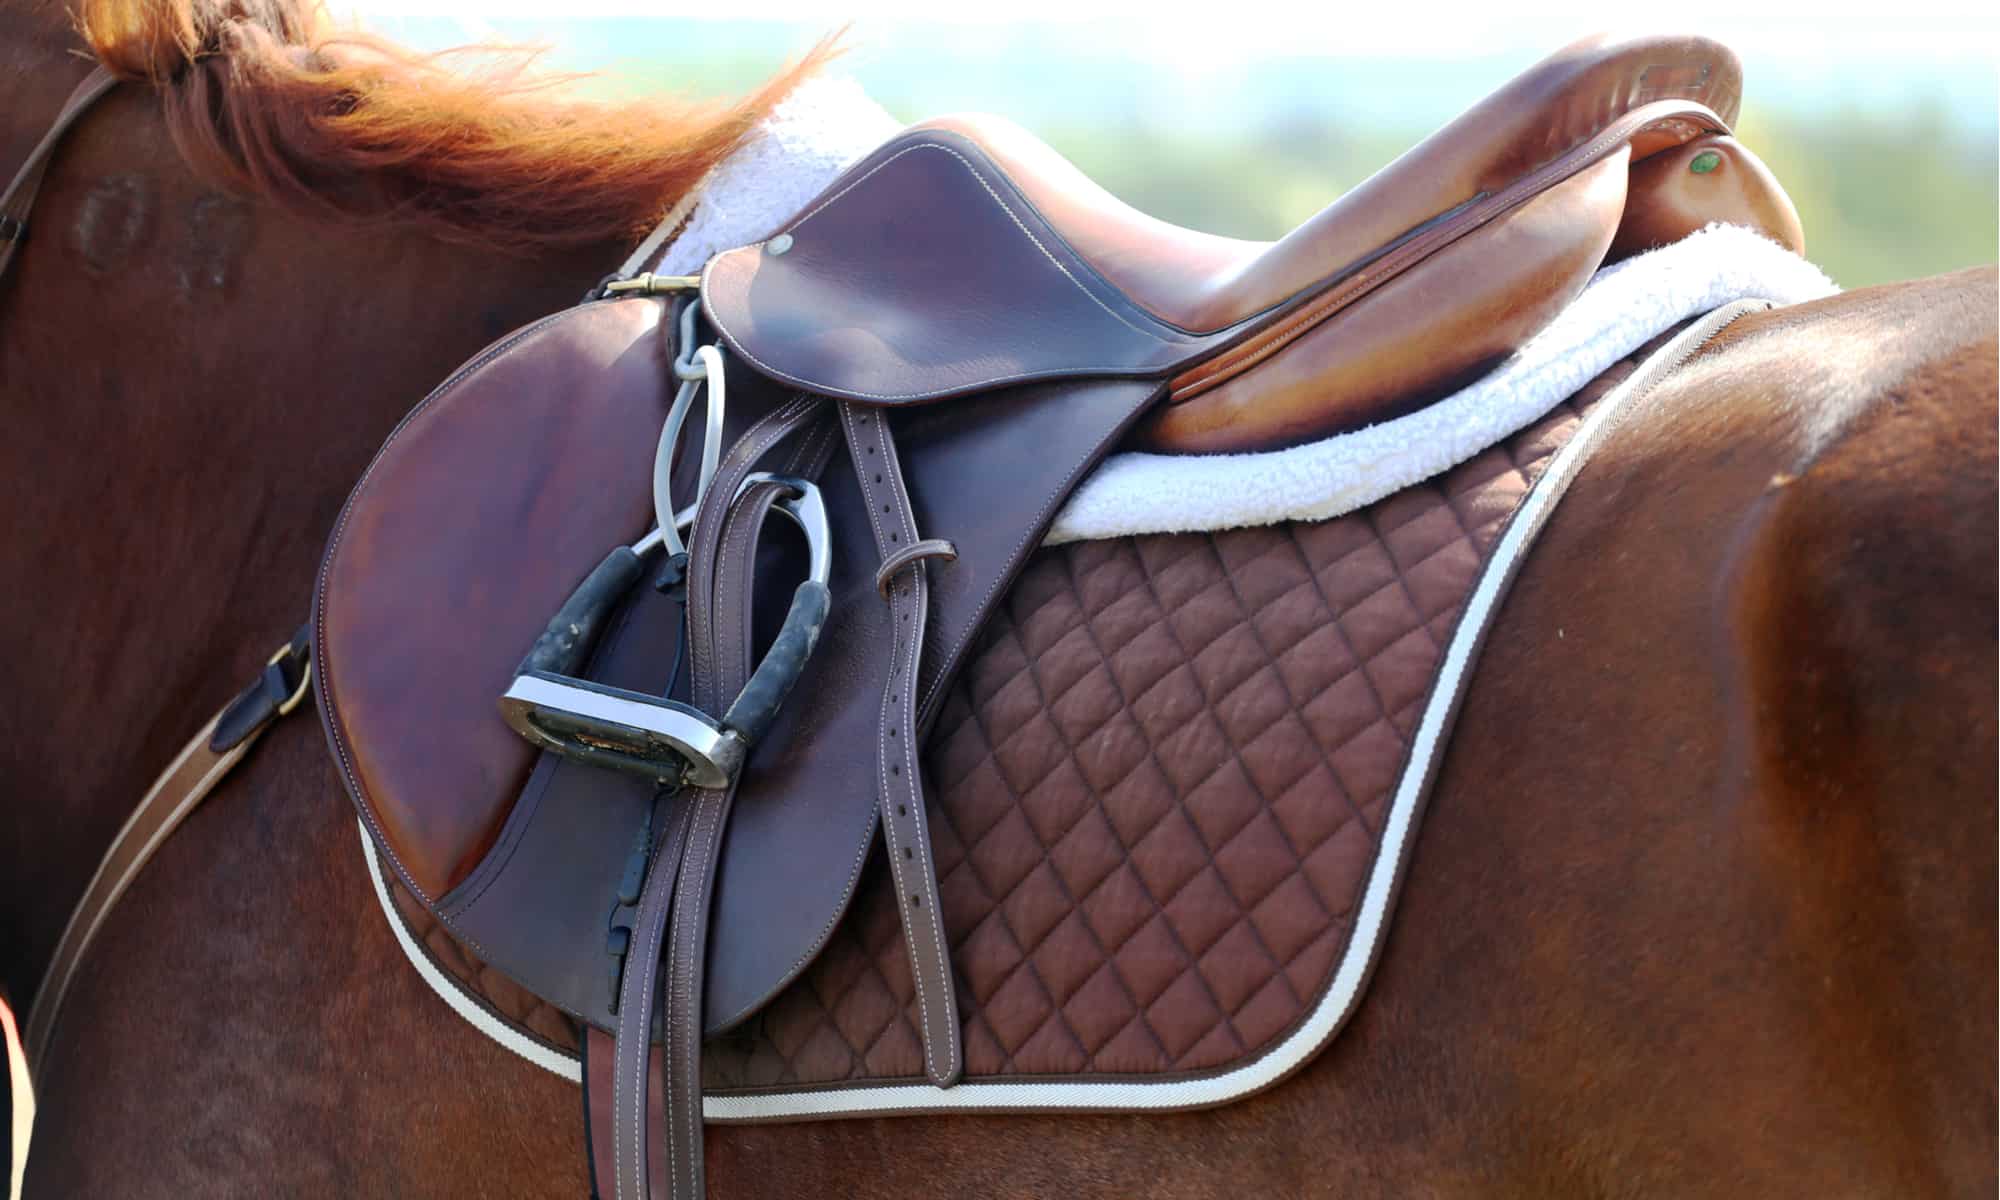
Step 1. Pick a Right Saddle
It all starts with proper saddles. They come in various shapes, sizes, and designs, so you can quickly find the one that fits the best for both you and the animal you ride. A perfect saddle size depends on your body measurements, including height, weight, and waist.
Keep in mind that not all saddles are suitable for all riding activities. Generally, you can prefer either English or Western style and pick a model accordingly.
English saddle size |
||
| Saddle size | Rider’s height | Rider’s weight |
| 15 or 15.5inches
(38 or 39.5 cm) |
58 to 62 inches
(1.47m – 1.57 m) |
50 to 100 pounds
(23 – 45.5 g) |
| 16 or 16.5inches
(40.5 or 42 cm) |
60 to 65 inches
(1.52 – 1.65 m) |
85 to 135 pounds
(38.5 – 61 kg) |
| 17 or 17.5 inches
(43 or 44.5 cm) |
64 to 69 inches
(1.63 – 1.75 m) |
100 to 170 pounds
(45.5 – 77 kg) |
| 18 or 18.5 inches
(46 or 47 cm) |
67 to 71 inches
(1.7 – 1.8 m) |
150 to 210 pounds
(68 – 95.5 kg) |
| 19+ inches
(48.5 cm) |
72+ inches
(1.83 m) |
200+ pounds
(91 kg) |
An English saddle is smaller and lighter than a bulky Western-style one for the simple reason. The disciplines they practice are different.
If you plan on enjoying activities like jumping, dressage, and three-day eventing, you should get an English saddle. On the other hand, it is better to choose a Western model for reining, ranch riding, or barrel racing.
Western saddle size |
||
| Saddle size | Rider’s height | Rider’s weight |
| 13 or 13.5 inches
(33 or 34.5 cm) |
58 to 62 inches
(1.47m – 1.57m) |
50 to 100 pounds
(22.7 – 45.4kg) |
| 14 or 14.5 inches
(35.6 or 37 cm) |
60 to 65 inches
(1.52 – 1.65m) |
85 to 135 pounds
(38.6 – 61.2kg) |
| 15 or 15.5 inches
(38.1 or 39.45 cm) |
64 to 69 inches
(1.63 – 1.75m) |
100 to 170 pounds
(45.4 – 77kg) |
| 16 or 17inches
(40.5 or 43 cm) |
67 to 71 inches
(1.7 – 1.8m) |
150 to 210 pounds
(68 – 95.3kg) |
| 17+ inches
(43 cm) |
72+ inches
(1.83 m) |
200+ pounds
(90.7 kg) |
Remember that a saddle shape should suit the horse’s back. You want one that doesn’t touch animal withers or pinch its skin. Otherwise, the horse will be nervous, irritated, and it may disobey your commands.
Step 2. Prepare a Horse

Horses are sensitive animals that quickly smell your fear, nervousness, and insecurity. Yet, all these feelings are normal and common among beginners.
The very first thing you need to do is to secure your horse and hold it still. Use a cross-tie or quick-release slip knot to tie your equine, or ask your friend or trainer to help you calm and secure it.
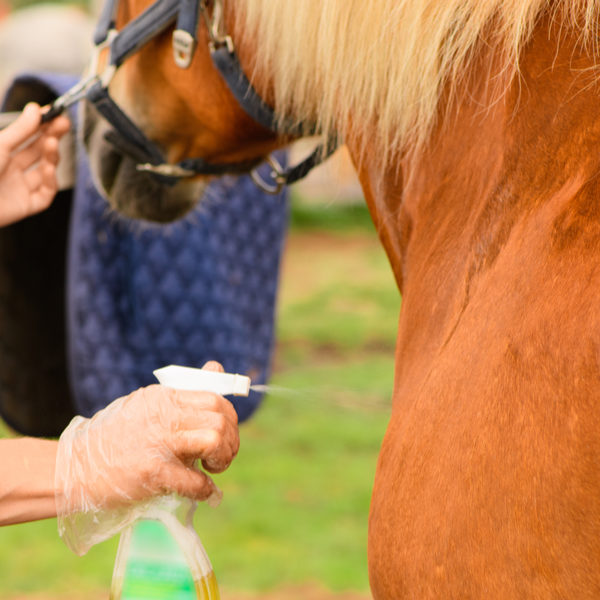
Skipping brushing before putting a saddle on a horse is a common rookie mistake you want to avoid. Grooming and brushing provide you with a great opportunity to closely inspect animal skin and hair. That is also an excellent way to make contact and befriend the horse you want to ride.
Brushes will remove tangles and dirt, but it can also irritate the animal. Don’t forget to pet the horse and speak a few reassuring words, especially if it is a young animal.
Most horses meet with a saddle for the first time in their second or third year. Still, experienced equestrians introduce horses to the saddle earlier, in their first year, by placing it near the animal for viewing and sniffing.
Step 3. Pads and Blankets

You need a saddle pad or a blanket before putting a saddle on a horse. Not only will it protect the horseback, but it also prevents the saddle from sliding and keeps it in place.
Make sure to gently put a pad above the animal’s withers and then slide it back. That way, you will place it in the right spot and smooth the hair beneath it simultaneously. If you have an English-style saddle, the pad probably has attachments you should fix on a D-ring to provide additional stability.
Saddle pads and blankets come in all sorts of designs and materials. You can pick cotton, wool, gel, or a memory foam filling. Typically, Western-style riders prefer adding blankets over the pads, usually folded on two. In that case, check if the fold line follows the line of the horse’s spine.
There are several reasons to use saddle pads and blankets. Perfectly fitting, custom-made saddles are costly. Therefore, you can buy a cheaper model and add a pad for cushioning and lumbar support. They are particularly beneficial if you ride an arthritic animal.
Plus, your horse will sweat a lot during training. Natural materials will absorb that sweat and dust and allow air to flow between the horse skin and the saddle. Finally, they will improve your technique and riding posture.
Step 4. Placing the Saddle

Most trainers learn horses to expect a rider on their left side. The same goes when it comes to saddling up. Equestrians refer to a saddle left side as a near side, while they name the right one a far side.
Always approach a horse on the left side. Lift the saddle and put it on a pad or blanket. Remember to do it carefully so as not to scare the horse or hurt its back.
The right place for a saddle is on the horse’s back, approximately 2 to 3 inches (5 – 7.5 cm) behind its withers. It is the area where the animal’s neck meets its back.
However, never put the saddle right in its place. The better option is to place it a little above and then slide it down. Make sure you position both saddle and pads equally on both sides.
Step 5. Fasten the Girth
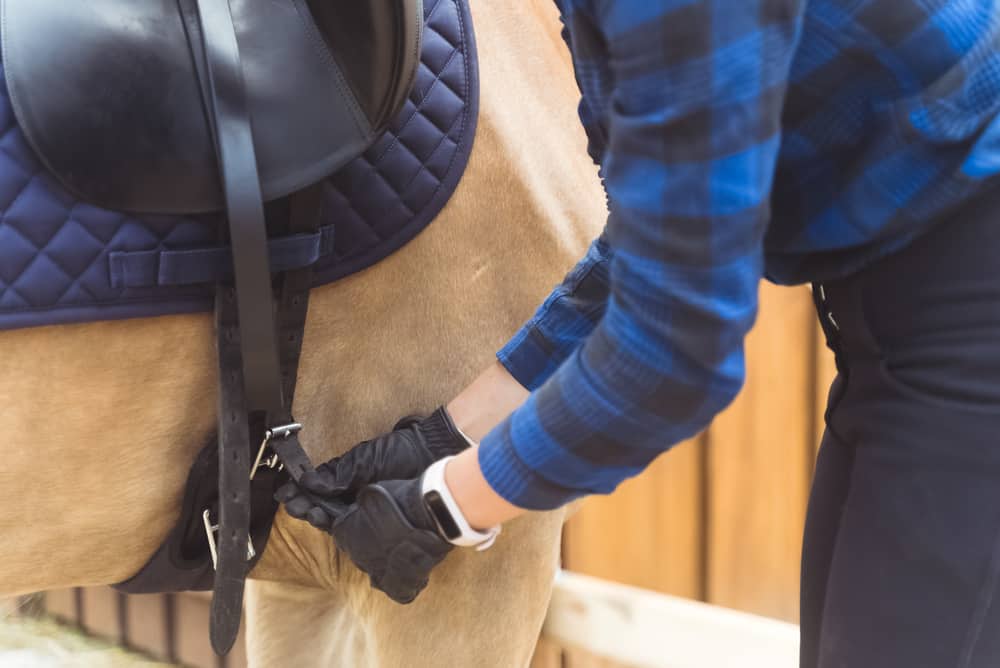
Once you set up the saddle on your horse, you should fasten cinch or girth, depending on the saddle type. This piece of equipment prevents it from sliding on the side, so it serves your safety.
Some girths buckle up while you tie others to a saddle. Either way, reach for a hanging girth part beneath the animal body and connect it to a saddle.
The vital thing to remember is to start loose and then tighten the girth enough. A loosely fastened saddle will slide quickly, while too tight may cause animal problems with front leg mobility and breathing.
A perfectly leveled girth has a symmetrical place on both sides. It is necessary to provide arm-width space between the horse’s stomach and girth.
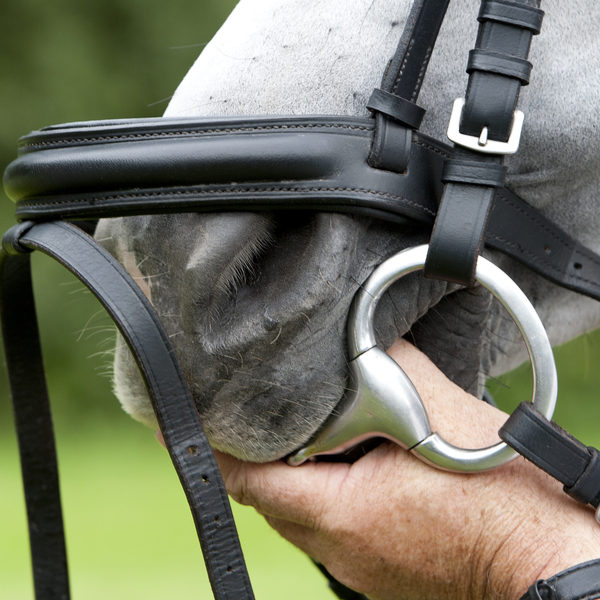
Some English-style saddles can have additional fasteners for attaching a pad to the saddle. Western-style models contain a back cinch. Some riders also put bridles, bit, breast collars, and horse boots on their horses.
Step 6. Check for Problems

Take your horse for a short walk before mounting it. That way, you can quickly notice does the equine have trouble with mobility, breathing, or skin irritation.
Once you sit on the animal’s back, it is recommended to walk it for at least ten minutes to check for potential problems with saddle or girth. If you feel stable and well-balanced on the horse, you can speed it up and have some fun.
Don’t forget to pay attention to the horse’s reactions in the first minutes of riding. If the animal shows visual dissatisfaction, gets tired rapidly, and runs out of breath, you need to dismount it immediately.
Check complete equipment on horseback by taking off piece by piece, and start all over. After all, saddling a horse is a demanding task that requires your full attention and practice.
Tips and Tricks
Generally speaking, both people and horses are creatures of habits and learn through repetition. Practice saddling up daily.
Some trainers even suggest trying to saddle up a nearby fence or a suitable piece of furniture before trying it on a living creature. That way, you will build your confidence and skill and know the equipment you use well.
As I mentioned before, equines are sensitive animals. They can react to your indecision and refuse obedience. No one expects you to saddle a horse in a few minutes as experienced riders. However, quick and determined moves won’t allow the horse to become skittish.
One more thing! Never let yourself become overwhelmed with fear. Once you put a saddle pad on a horse’s back, pet it, and place a saddle on the top in one smooth motion. That will be enough.
Summary
When you prepare your horse well, it is easy to set a saddle. Place a pad or blanket on its withers and slide them down. Next, put a saddle and fasten the girth or cinch, depending on the saddle type. Check for possible problems. Once you see that everything is fine, you will be ready to mount your horse and enjoy riding.